


Why You Should Harvest Cocoons
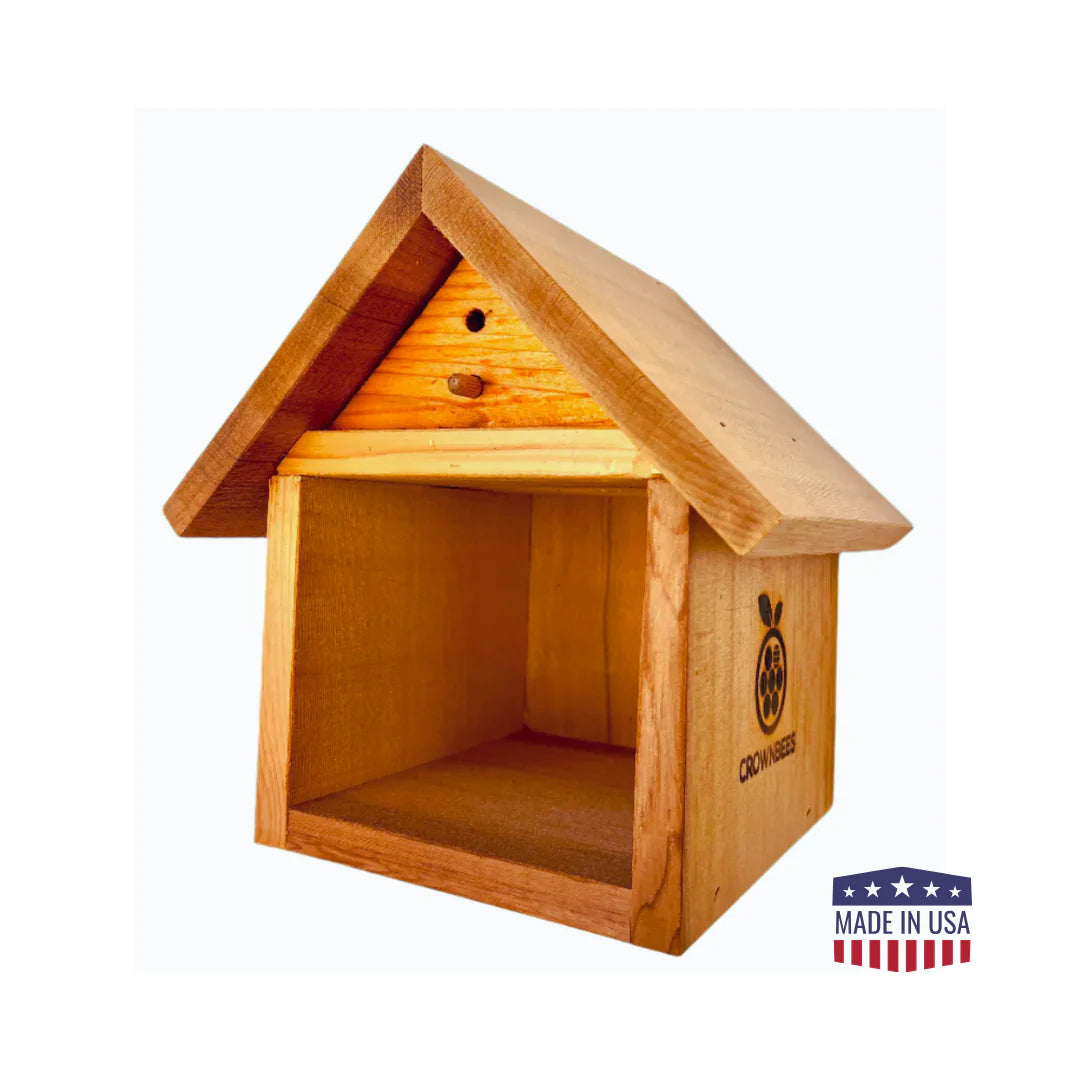
Bees evolved to nest in natural holes like decaying tree trunks and reeds, which deteriorated over time. Modern bee houses provide dry, protected nesting spaces that bees can use year after year. However, pests also stay behind in these holes, feeding on new pollen, which can harm future generations of bees. Harvesting your cocoons is not only a great way to care for your bees but also a chance to share extra cocoons with friends and neighbors. To ensure your bees thrive, harvest and separate healthy cocoons from pests, giving your bees the best chance for a healthy future.


Once Mason bee activity stops, which can be as late as July, it's time to place the developing bees in a protected area.
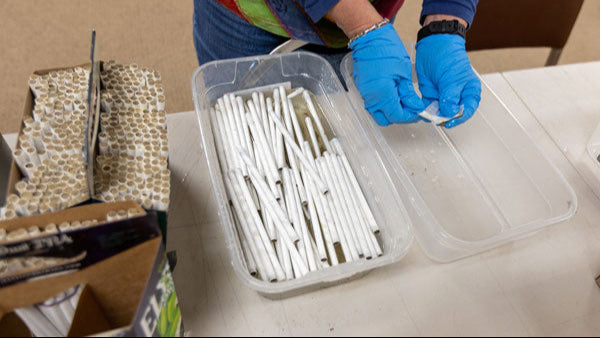
Gently remove the nesting materials from the bee house and store them in a BeeGuard Bag or another tightly woven yet breathable mesh bag, with the mud-capped end facing up. The bag protects developing bees from pests and parasites.
Consider offering a varied set of nesting hole sizes to invite not just your buzzing bees but also some beneficial wasps to move in and join the fun! The more, the merrier for a thriving, pollinator-friendly garden!
How to Harvest
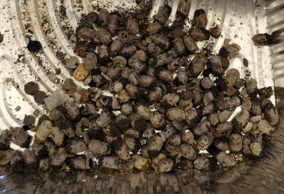
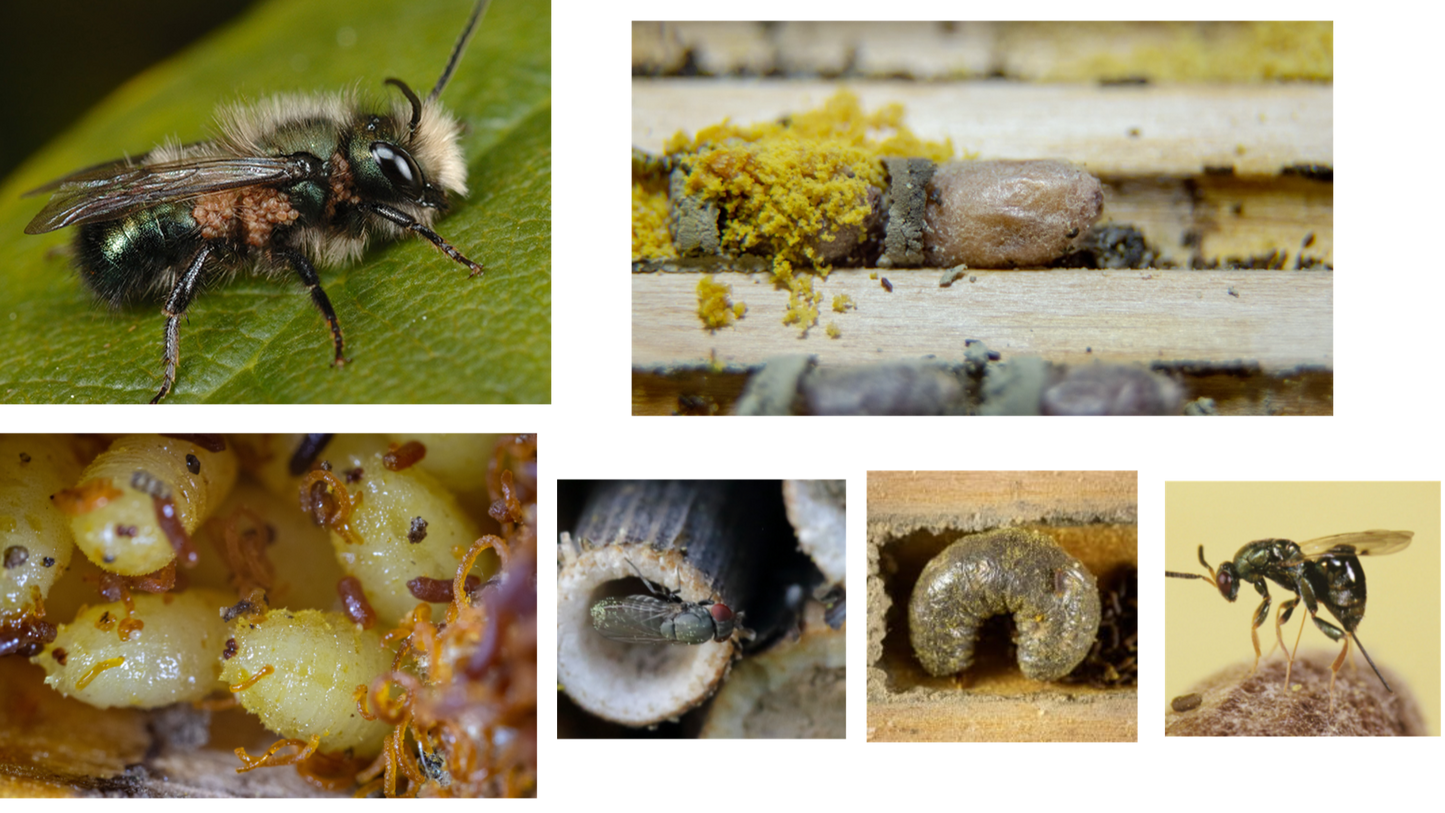
Just like tacos, harvesting Mason bees can get a little messy! Inside the nesting materials, you’ll find healthy cocoons, mud, bee frass (poop), pollen loaves from unhatched eggs, and possibly dead larvae. You may also come across parasites like Chalkbrood or pollen mites. While some parasites are natural predators, they can harm your bees, so it’s essential to harvest the cocoons to keep them safe and healthy for future seasons. Pro Tip: If you find large larvae or non-Mason bee cocoons, they might belong to wild bees or beneficial wasps.
Upload an image
Shop nowSteps:
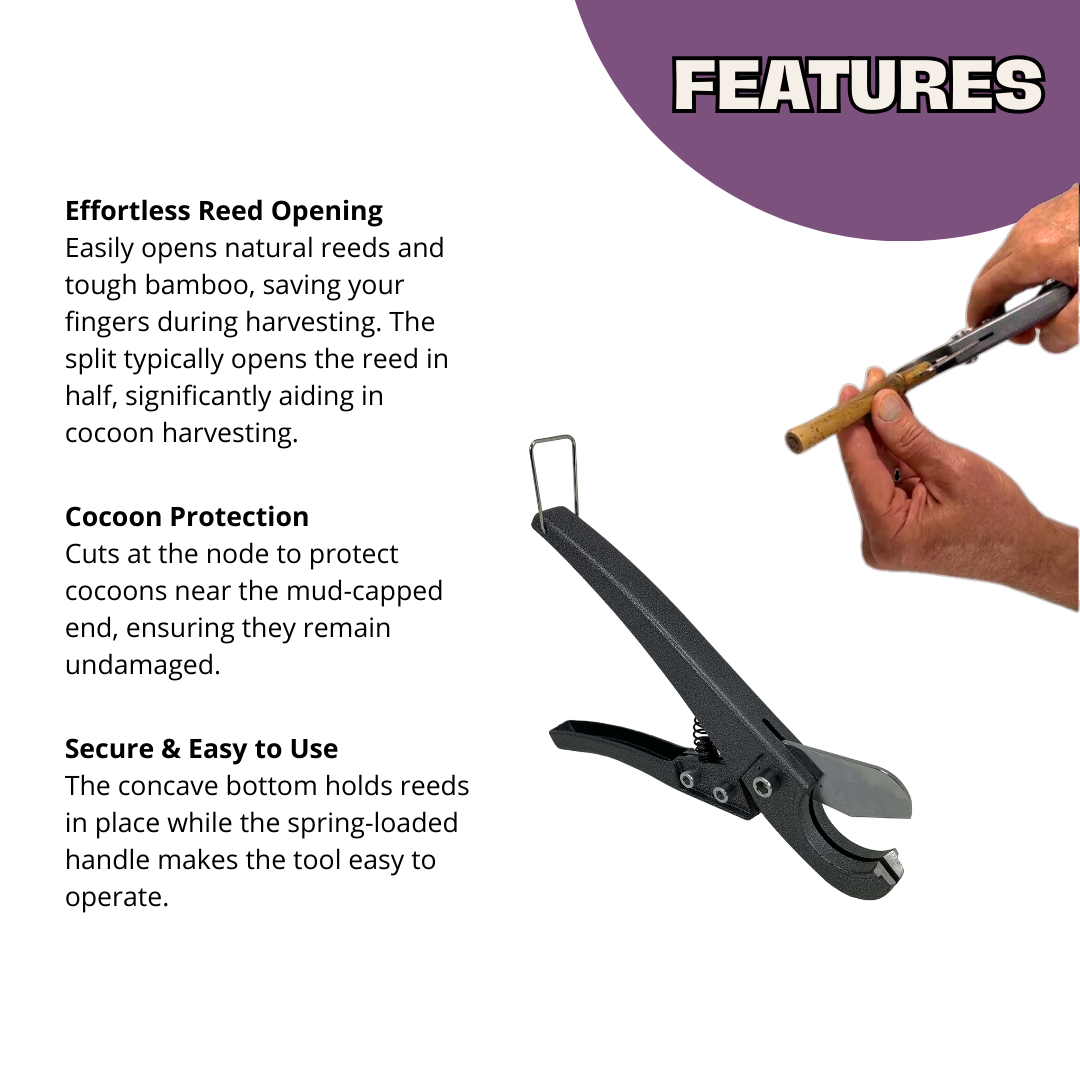
- Check for Cocoons: Use a Cocoon Finder to check if reeds contain cocoons. If the reed has a green part, it’s filled with cocoons; if not, it’s empty.
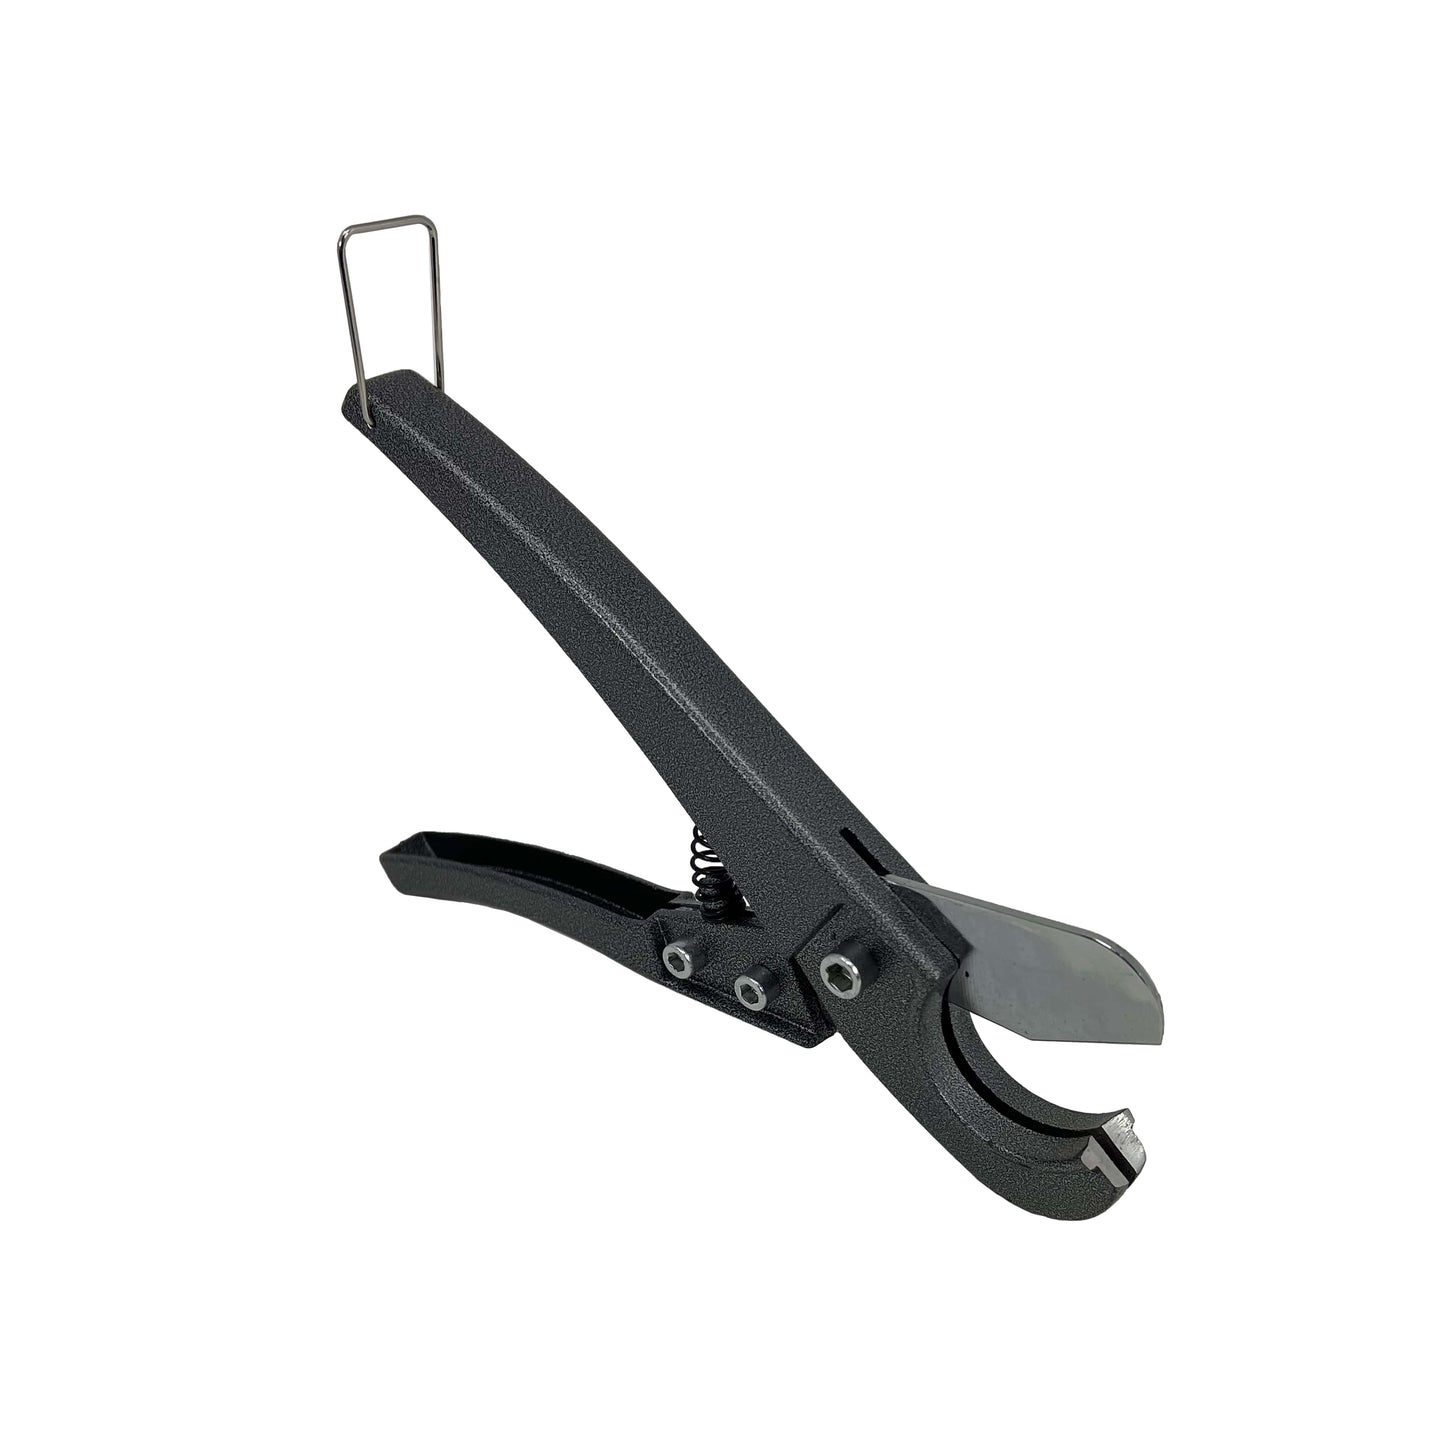
- Split the Reed: At the node end, use a Reed Splitter (or your fingers) to gently split the reed open. Don’t worry, this won’t harm the bees.
- Remove the Cocoons: Pry open the reed and gently extract the cocoons.
Note: Avoid using bamboo for nesting material as it’s tough to open and the holes can be too big for Mason bees..
Steps:
- Remove Inserts: Take the Spring Inserts out of the BeeTubes, saving the cardboard tubes for next season.
- Soften the Glue:
- Option 1: Soak the inserts in warm water for 10-15 minutes to soften the glue, then remove the paper to release the cocoons.
- Option 2: Cut or tear one end of the insert to easily separate the paper and cocoons.
Steps:
- Remove Rubber Bands & Backing: Save the rubber bands and cardboard backing for reassembly.
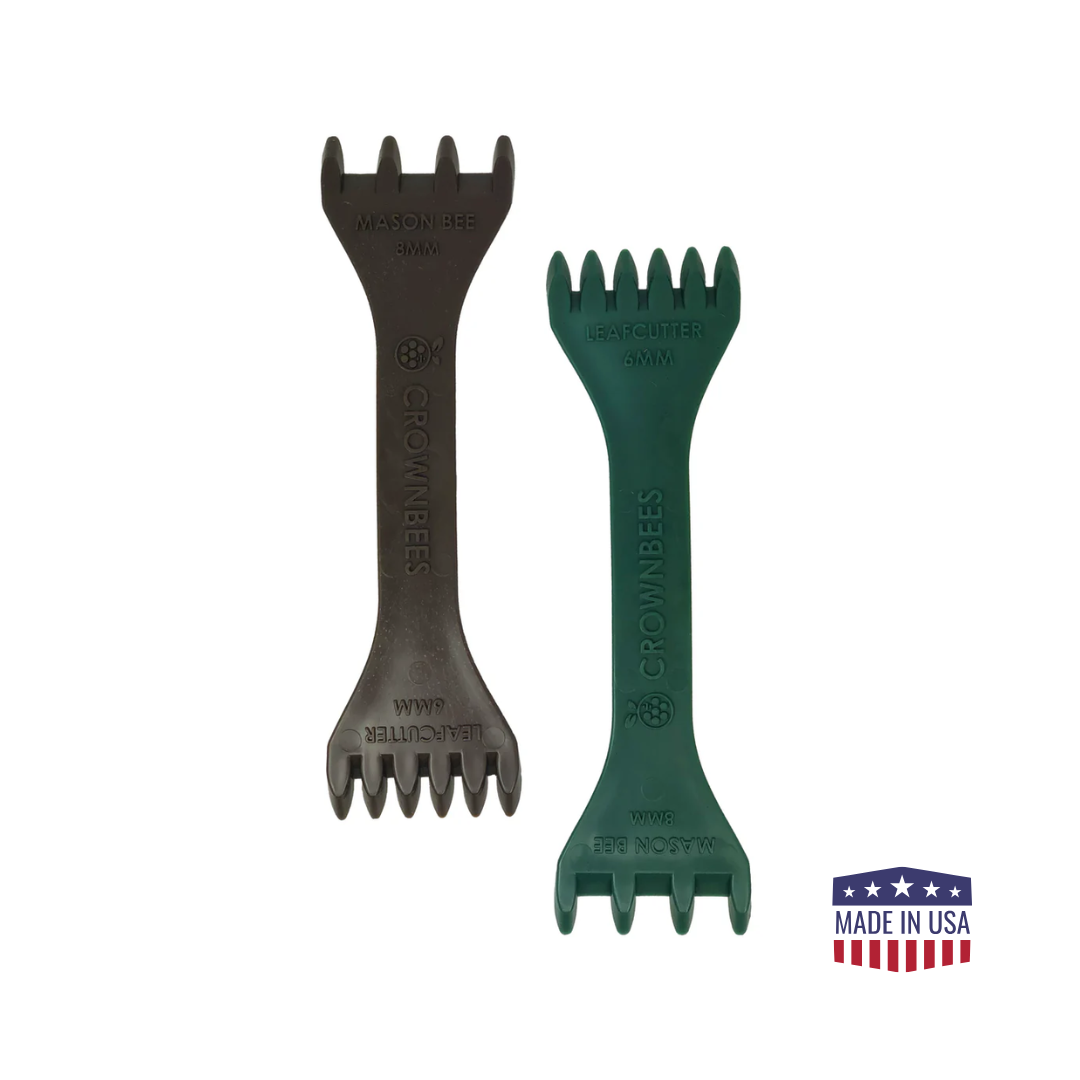
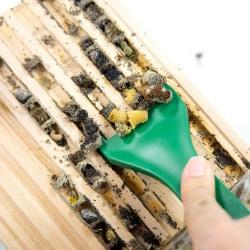
- Extract Cocoons: Use the Cocoon Comb to gently remove cocoons and debris from the tray. Clean any pollen mites and frass with a stiff brush or toothbrush.
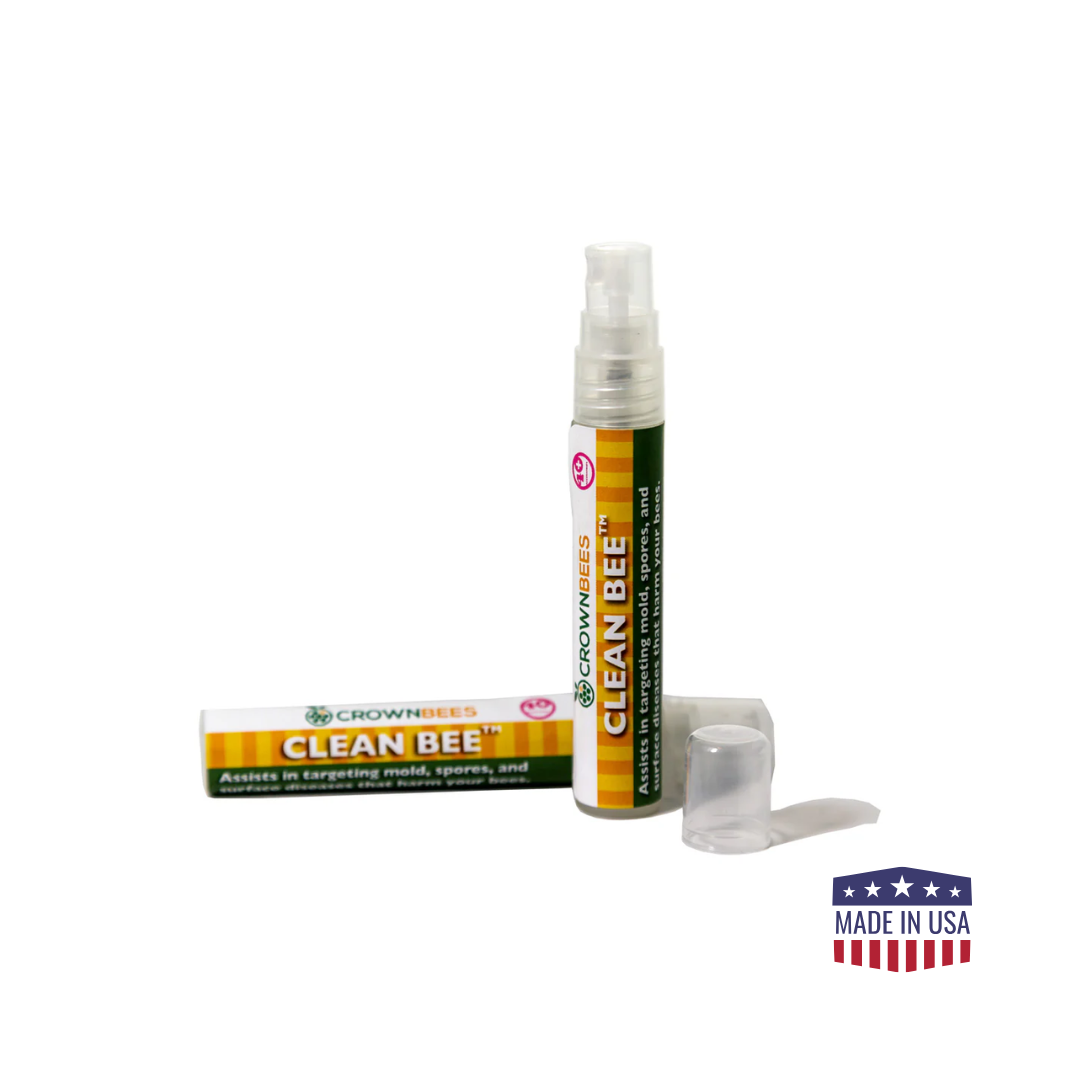
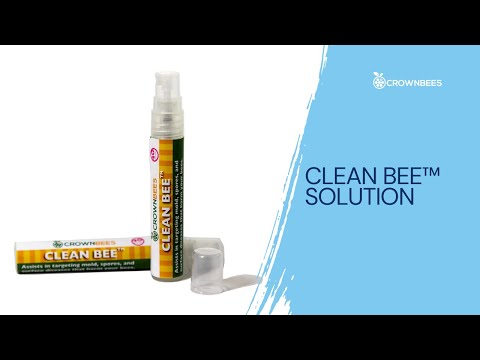
- Treat for Chalkbrood: If you find Chalkbrood, use a toothbrush or Q-tip with Clean Bee™ Solution to spot clean the affected areas.
Tip: Check both sides of the wood trays for cocoons.

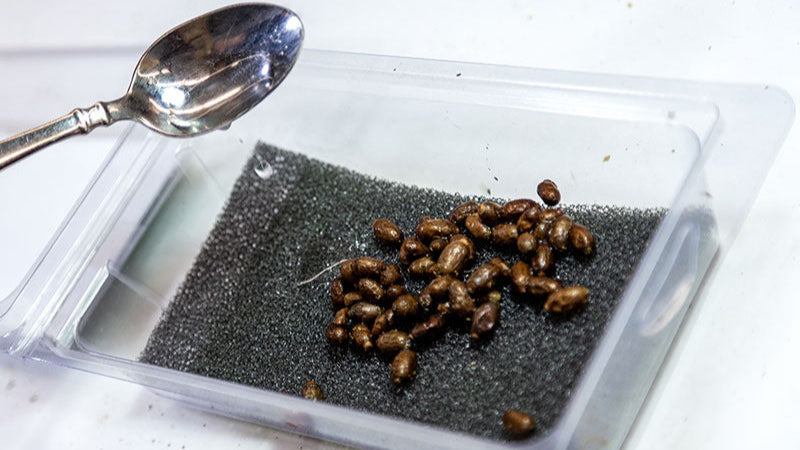
Add the Mason bee cocoons to the water, and gently stir to clean off mud and debris.
Frass (bee poop) may require some friction to remove from the outside of the cocoon. If this occurs, gently rub cocoons between your fingers to remove stuck-on debris.
We've found a colander or slotted spoon makes for quick and easy removal of cocoons. Gently pat the cocoons dry with paper towels or a clean towel/rag. Allow cocoons to continue to air dry for about 30 minutes.

If you find evidence of Chalkbrood, spray Clean Bee™ directly on mason bee cocoons. A light mist on all sides, is all you'll need!
Alternatively, you could use a mild bleach solution (1 tsp. bleach to 1 cup of water). However, this method is more caustic, and you'll need to rinse cocoons with fresh water after soaking to remove excess bleach.
Pro Tip: Checking for trouble! Any C-shaped dead larva is a tell-tale sign of Chalkbrood infection and should be thrown away. Cocoons with small holes may have a parasitic wasp infestation - remove and throw these out too!


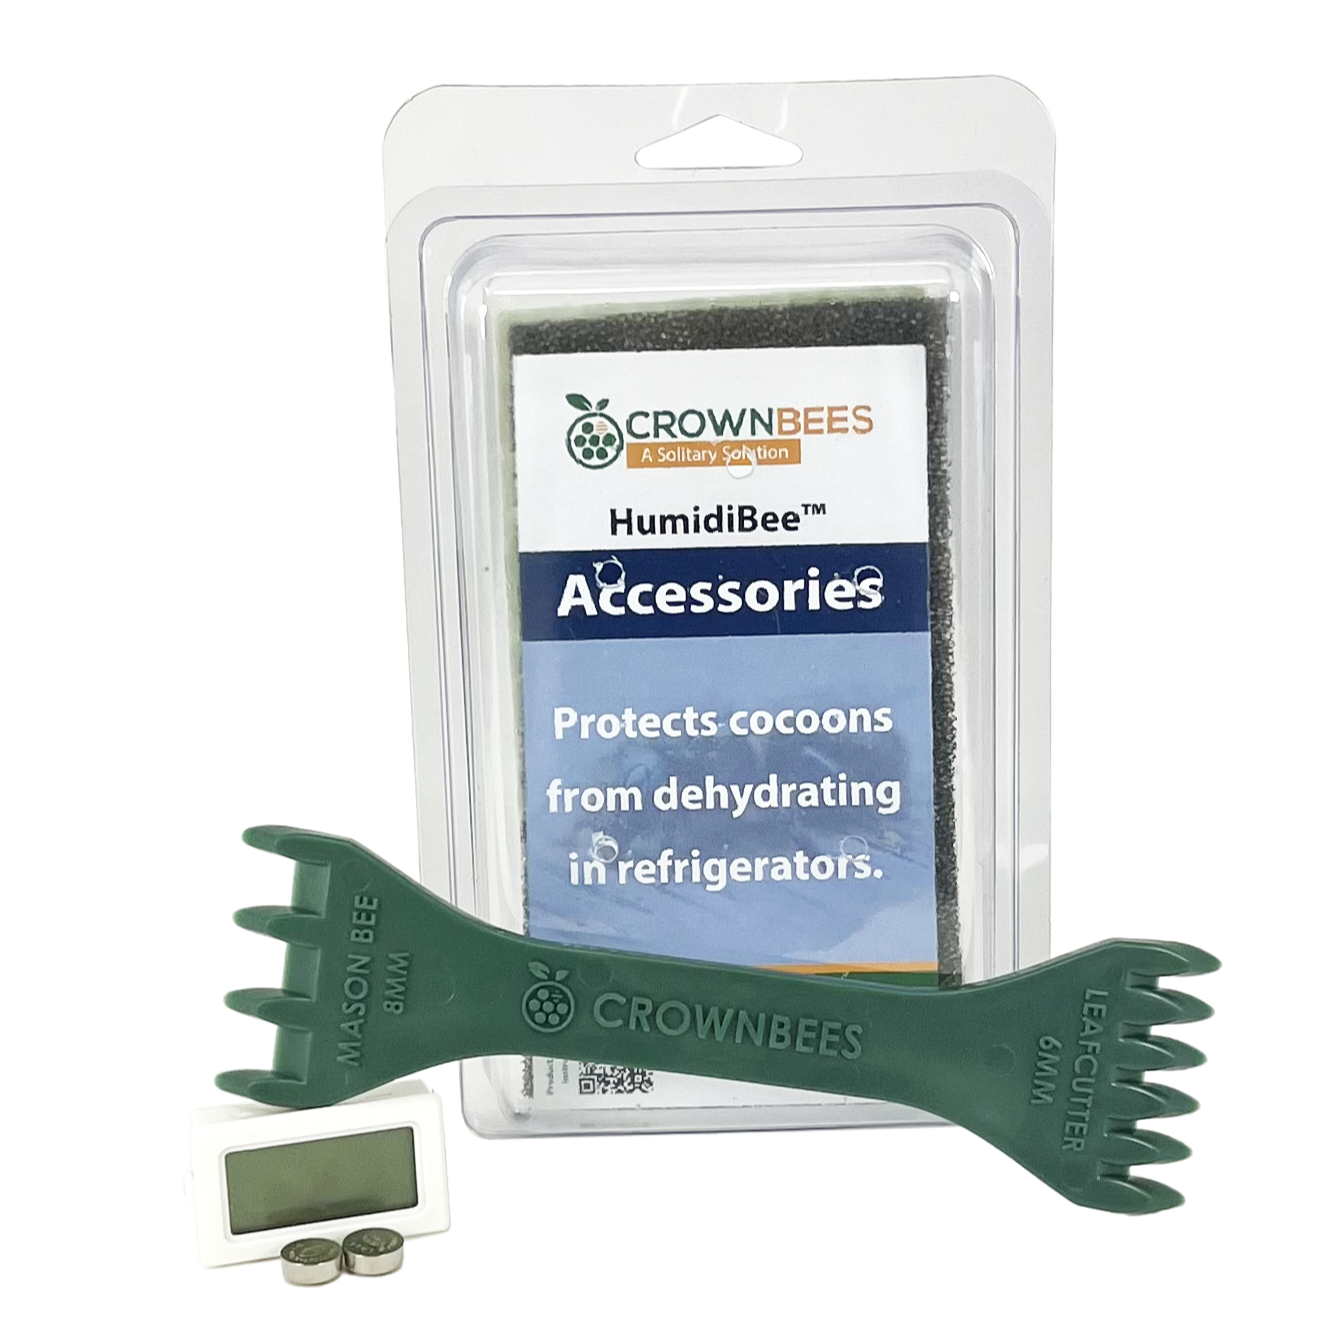
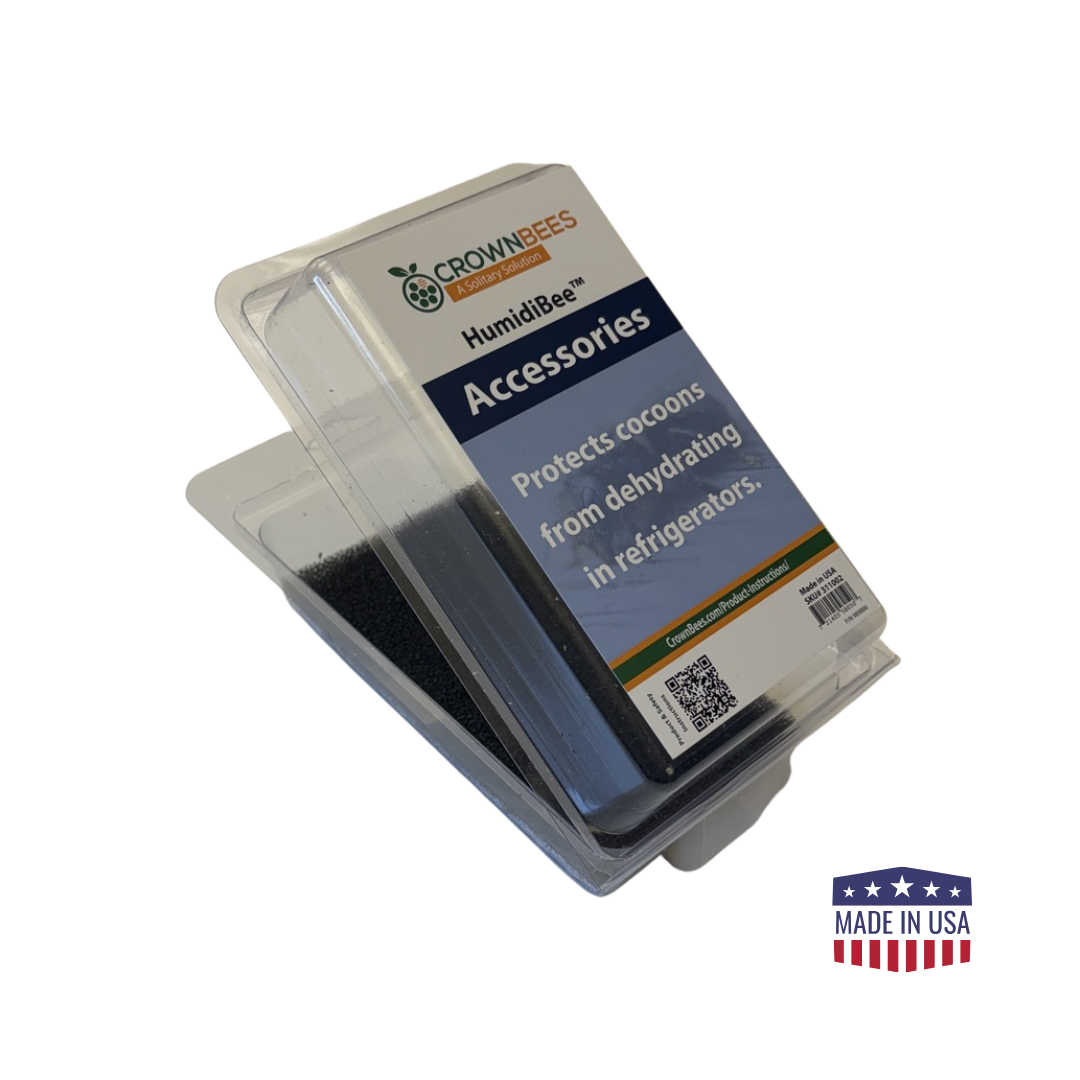
We recommend setting your fridge temperature to ~34°F (1°C). Modern frost-free refrigerators have reduced moisture levels and after a few weeks in the fridge, your cocoons may begin to dry out. To prevent dehydration of Mason bee cocoons, we've developed the HumidiBee Cocoon Humidifier.
Add about a tablespoon of water once a month to your HumidiBee container to keep cocoons from drying out.
Spores from cheese are constantly circulating around your refrigerator, which can sometimes cause cocoons to become moldy. You can often prevent spores from reaching your cocoons by placing the HumidBee Cocoon Humidifier in a paper bag.
If you do notice excessive mold growth (a little is OK) in your HumidiBee or on Mason bee cocoons during winter storage, you can re-wash cocoons in cool water, pat dry, and spritz with Clean Bee™ to treat mold growth. Rinse the HumidiBee pads in warm, soapy water, let dry, then evenly spritz Clean Bee™ on both sides of the HumidiBee pads and Mason bee cocoons.
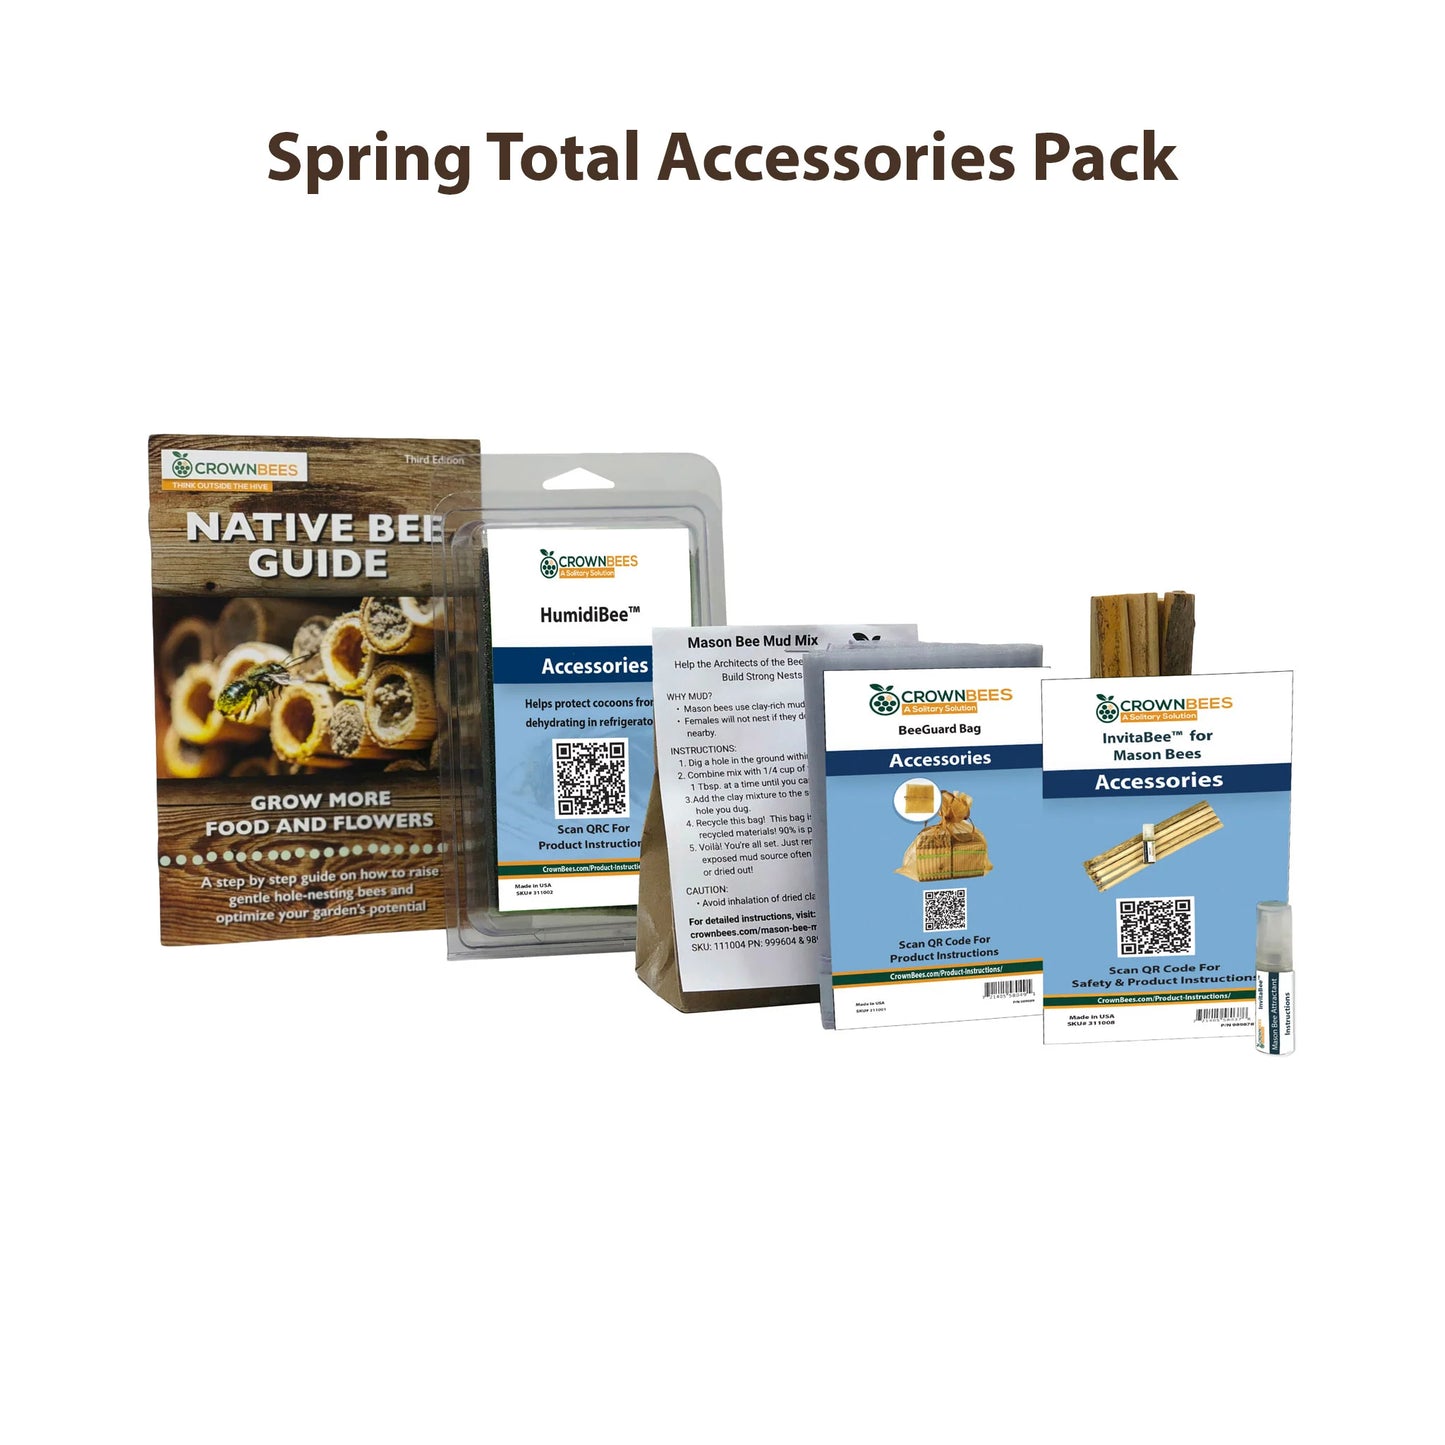
Harvest Mason Bee Cocoons with Ease
Make harvesting season simple, fun, and rewarding. Our Mason Bee Harvest Tools Collection includes everything you need to safely open nesting materials, clean cocoons, and prepare your bees for healthy hibernation.